Hosting Web Apps with Heroku
August 3, 2020
What is Heroku?
Heroku is a web platform that allows users to build, deploy, and maintain cloud applications. The platform specializes in hosting minimal config Node JS applications with both free and paid tiers.
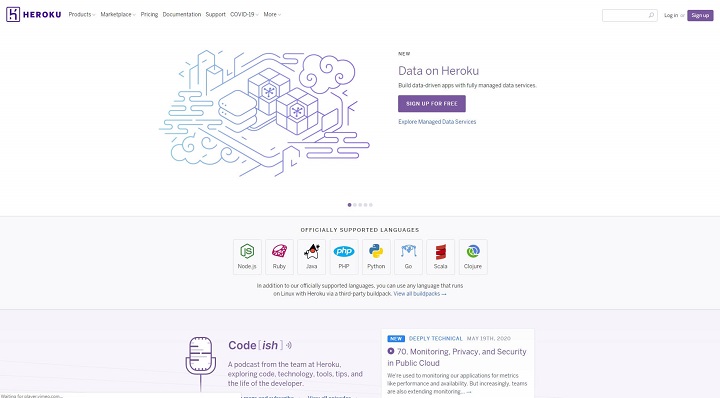
Heroku is an excellent tool for learning and setting up Node and other backend applications. You can also host Ruby, Java, PHP, Python, Go, Scala, and Clojure applications on Heroku.
Backend Hosting
Most free web hosts today specialize in serving frontend applications only (i.e
Netlify, Github Pages). This is
due to security, maintenance, and scaling concerns unique to backend web development.
Free Tier
Heroku’s free tier will run your applications when visited, and shut them down after 30 minutes of inactivity. It usually takes about 5-10 seconds to spin up a cold server (turned off) on Heroku, though there is a generous number of maximum weekly hours allotted.
Hobby Tier
Heroku’s hobby tier will run your application 24/7 for $7/month. This service is relatively similar to Digital Oceans Droplets, except it allows for less server configuration on the developer’s end.
Standard / Performance Tier
These tier’s are for more performant and scalable applications. The cost is $25-500 / month per application and these tiers provide a host of other features including alerts, prebooting, additional RAM, dedicated servers, autoscaling, etc.
Heroku Deploy Instructions
Create a Node App
Let’s create a Node JS server and deploy it to Heroku. First make sure you have Node JS installed as well as sign up for a Heroku Account. Next create a new Node project with the commands
mkdir heroku-demo
cd heroku-demo
npm init -y
These commands will create a folder, navigate into it, and initialize a node project. We
also will also want to install express for routing and create a JavaScript entrypoint
file, which we can do with the following
npm install express
touch index.js
Add the following server code to index.js for our basic setup
const express = require('express')
const app = express()

app.get('/api/getMessage', (req, res) => res.send({message: "I'm an API endpoint"}))

app.listen(process.env.PORT || 4000, () =>
  console.log(`Listening on port ${process.env.PORT || 4000}!`),
)
This code will setup an express server for us with a test endpoint on the specified port
(4000). We will also need to specify a start script for Heroku. Add the following script
to the package.json file
{
  "scripts": {
    "start": "node index.js"
  }
}
We can test out the server in the browser at http://localhost:4000/api/getmessage with
the command
npm startDeploy to Heroku
Now that our basic Node server is almost ready to deploy, let’s also add a
.gitignore in the root of our project to avoid uploading our dependencies
node_modulesNow, login to heroku with
heroku loginEnter the following commands one at a time to initialize and deploy the application
git init
git add .
git commit -m "initial commit"
heroku create
git push heroku master
The first command heroku login will prompt you to login to Heroku in the browser. After
the initial commit we can use the heroku create command to initialize a new application.
Heroku will provide a URL for the deploy along with the Heroku dashboard where you can
edit the app’s settings. We can use the command git push heroku master again in the
future to push staged git changes.
Wait a few seconds for your application to deploy and open the hosted URL Heroku provides.
Everything will be working properly if the main / route says Cannot GET /. Navigate to
/api/getmessage to see if the message is displayed!
Note: In this tutorial we didn’t include any private or config variables. If your application relies on environmental variables, include them in the settings image below.
Heroku Settings
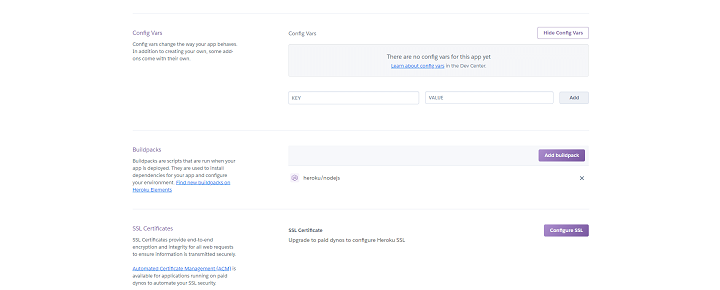
In the Heroku dashboard you will see a list of your applications deployed so far. Here you are able to change the pricing tiers, add configuration variables, allow other users access, set up deployment pipelines, and more. It’s definitely worth looking into the settings, and how the Dynos or application containers work if you are looking to host a production application on Heroku.